Yukarıdaki konuyla alakalı bir soru opencv ile açtığım bir videoyu tkinter içine gömebilir miyim?
Merhabalar,
Diğer başlıkta verilen resim eklemekle alakalı yönteme ilaveten, başka kodlar da paylaşmak istiyorum:
Kaynak: https://www.pyimagesearch.com/2016/05/23/opencv-with-tkinter/
# import the necessary packages
from Tkinter import *
from PIL import Image
from PIL import ImageTk
import tkFileDialog
import cv2

def select_image():
	# grab a reference to the image panels
	global panelA, panelB

	# open a file chooser dialog and allow the user to select an input
	# image
	path = tkFileDialog.askopenfilename()
	# ensure a file path was selected
	if len(path) > 0:
		# load the image from disk, convert it to grayscale, and detect
		# edges in it
		image = cv2.imread(path)
		gray = cv2.cvtColor(image, cv2.COLOR_BGR2GRAY)
		edged = cv2.Canny(gray, 50, 100)

		# OpenCV represents images in BGR order; however PIL represents
		# images in RGB order, so we need to swap the channels
		image = cv2.cvtColor(image, cv2.COLOR_BGR2RGB)

		# convert the images to PIL format...
		image = Image.fromarray(image)
		edged = Image.fromarray(edged)

		# ...and then to ImageTk format
		image = ImageTk.PhotoImage(image)
		edged = ImageTk.PhotoImage(edged)
		# if the panels are None, initialize them
		if panelA is None or panelB is None:
			# the first panel will store our original image
			panelA = Label(image=image)
			panelA.image = image
			panelA.pack(side="left", padx=10, pady=10)

			# while the second panel will store the edge map
			panelB = Label(image=edged)
			panelB.image = edged
			panelB.pack(side="right", padx=10, pady=10)

		# otherwise, update the image panels
		else:
			# update the pannels
			panelA.configure(image=image)
			panelB.configure(image=edged)
			panelA.image = image
			panelB.image = edged
# initialize the window toolkit along with the two image panels
root = Tk()
panelA = None
panelB = None

# create a button, then when pressed, will trigger a file chooser
# dialog and allow the user to select an input image; then add the
# button the GUI
btn = Button(root, text="Select an image", command=select_image)
btn.pack(side="bottom", fill="both", expand="yes", padx="10", pady="10")

# kick off the GUI
root.mainloop()
Bu programı çalıştırdığım zaman aldığım ekran görüntüsü:

Aşağıdaki de video açmakla ilgili yöntemin kodları:
Kaynak: https://stackoverflow.com/a/37434866
Kodlar:
import sys
import os
if sys.version_info[0] < 3:
import Tkinter as tkinter
else:
import tkinter
import gi
gi.require_version('Gst', '1.0')
from gi.repository import Gst, GObject
# Needed for set_window_handle():
gi.require_version('GstVideo', '1.0')
from gi.repository import GstVideo
def set_frame_handle(bus, message, frame_id):
if not message.get_structure() is None:
if message.get_structure().get_name() == 'prepare-window-handle':
display_frame = message.src
display_frame.set_property('force-aspect-ratio', True)
display_frame.set_window_handle(frame_id)
NUMBER_OF_FRAMES = 1 # with more frames than arguments, videos are repeated
relative_height = 1 / float(NUMBER_OF_FRAMES)
# Only argument number checked, not validity.
number_of_file_names_given = len(sys.argv) - 1
if number_of_file_names_given < 1:
print('Give at least one video file name.')
sys.exit()
if number_of_file_names_given < NUMBER_OF_FRAMES:
print('Up to', NUMBER_OF_FRAMES, 'video file names can be given.')
file_names = list()
for index in range(number_of_file_names_given):
file_names.append(sys.argv[index + 1])
window = tkinter.Tk()
window.title("Multiple videos in a column using Tk and GST 1.0")
window.geometry('480x960')
Gst.init(None)
GObject.threads_init()
for number in range(NUMBER_OF_FRAMES):
display_frame = tkinter.Frame(window, bg='')
relative_y = number * relative_height
display_frame.place(relx = 0, rely = relative_y,
anchor = tkinter.NW, relwidth = 1, relheight = relative_height)
frame_id = display_frame.winfo_id()
player = Gst.ElementFactory.make('playbin', None)
fullname = os.path.abspath(file_names[number % len(file_names)])
player.set_property('uri', 'file://%s' % fullname)
player.set_state(Gst.State.PLAYING)
bus = player.get_bus()
bus.enable_sync_message_emission()
bus.connect('sync-message::element', set_frame_handle, frame_id)
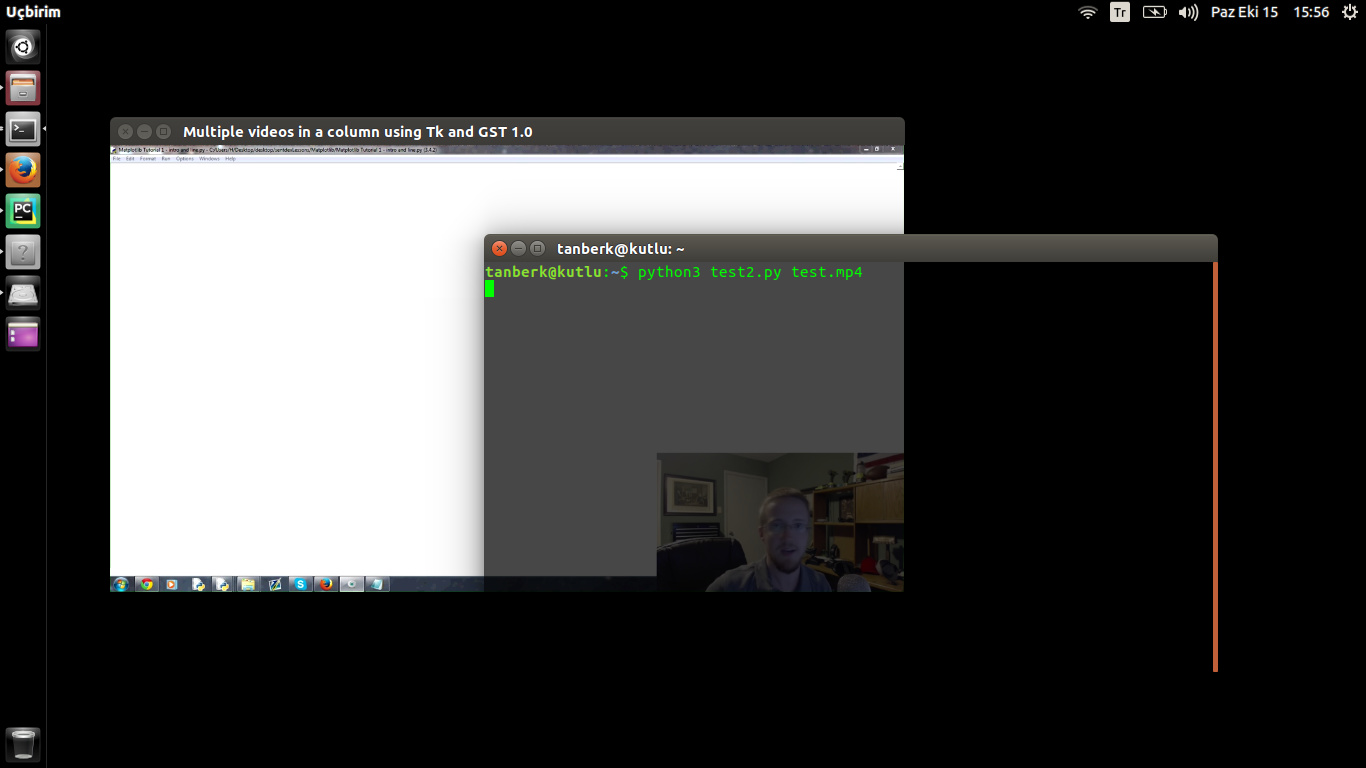
window.mainloop()Bu kodları çalıştırdığım zaman aldığım ekran görüntüsü: